Storm Shelter Installation in Savannah, TN Before Fall Storms
Storm shelter installation in Savannah, TN, is a practical project to complete before fall weather becomes less predictable. A shelter does its job only when it is already installed, easy to reach, and ready for everyone in the household.
We serve rural and small-town properties within a 50-mile tri-state radius, including Savannah, Adamsville, Pickwick, Corinth, Iuka, Waterloo, Cherokee, and nearby communities in Southwest Tennessee, Northeast Mississippi, and Northwest Alabama. Across this area, we often see property owners wait until severe weather is already on the forecast. By then, installation schedules, excavation conditions, and shelter availability may be tighter.
Fall Storms Can Arrive Before Your Shelter Is Ready
Fall weather can bring strong thunderstorms, tornado-producing systems, and the inland effects of Gulf storms. Late-summer heat, changing temperatures, and tropical moisture can all create rough weather conditions. Tornado risk does not end when spring is over.
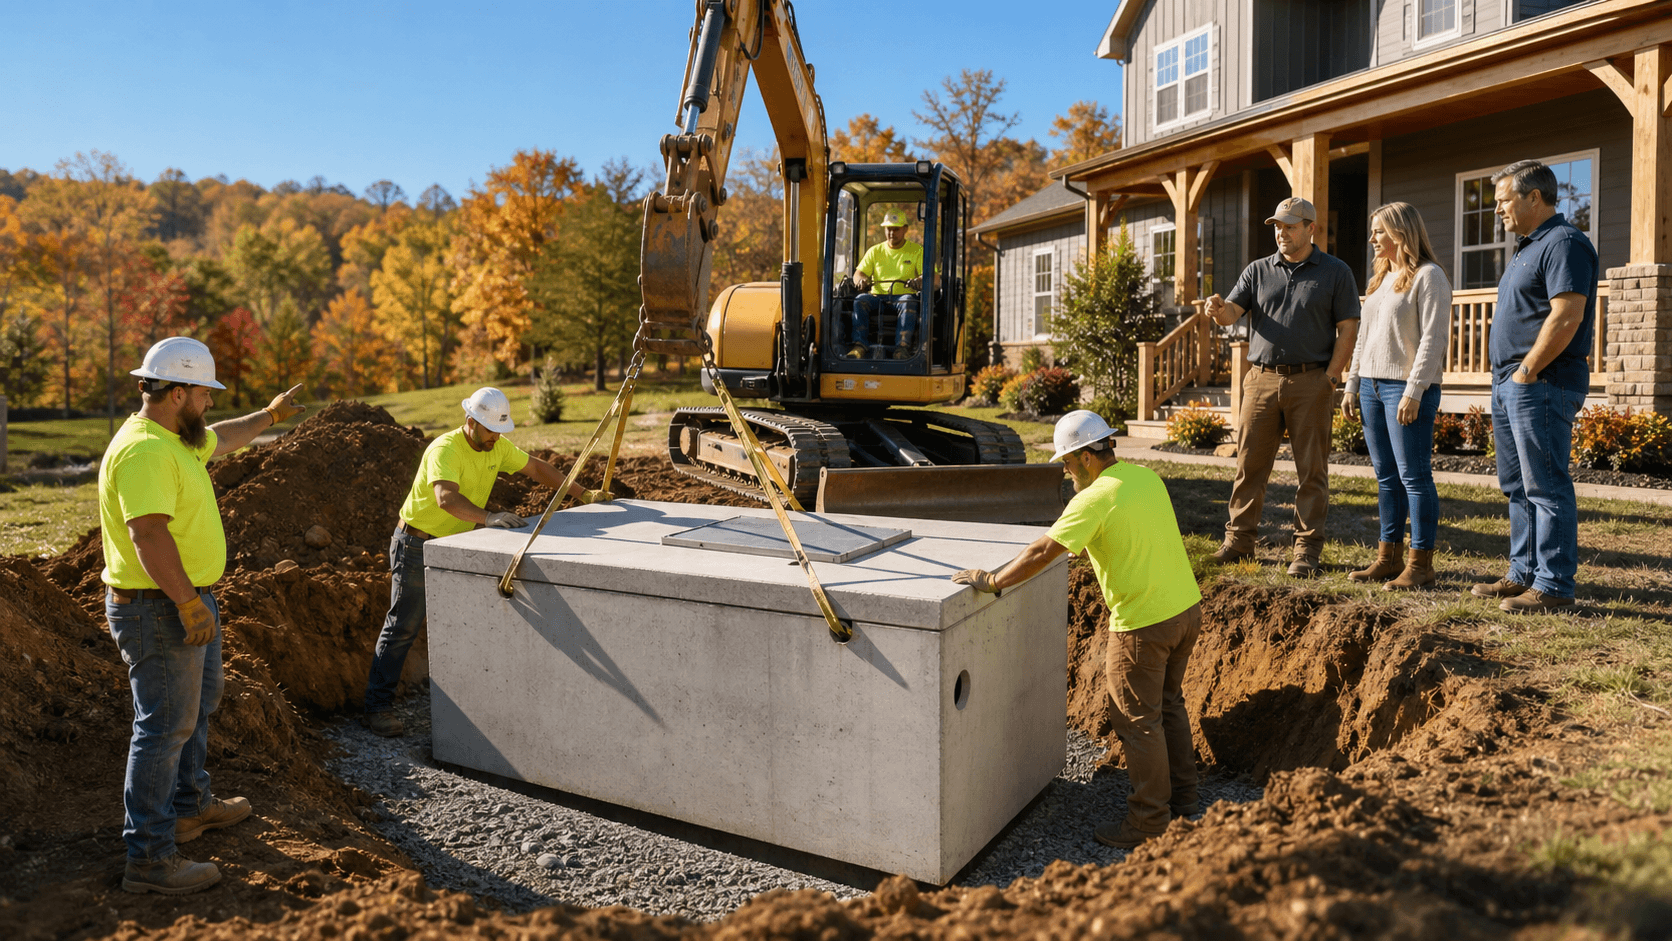
A storm shelter project also takes more planning than simply selecting a shelter. Before installation, we need to review the site, confirm equipment access, prepare the excavation area, set the shelter properly, backfill around it, and address the disturbed ground. Rain can slow down excavation work, soften access routes, or make a planned location harder to reach safely.
Starting early gives you room to make practical decisions without rushing. That matters on rural properties with long gravel driveways, uneven ground, livestock areas, tree lines, or limited access for equipment. A shelter location that looks fine on a dry day may not work as well after a heavy rain.
Choose a Shelter Location That Works in a Storm
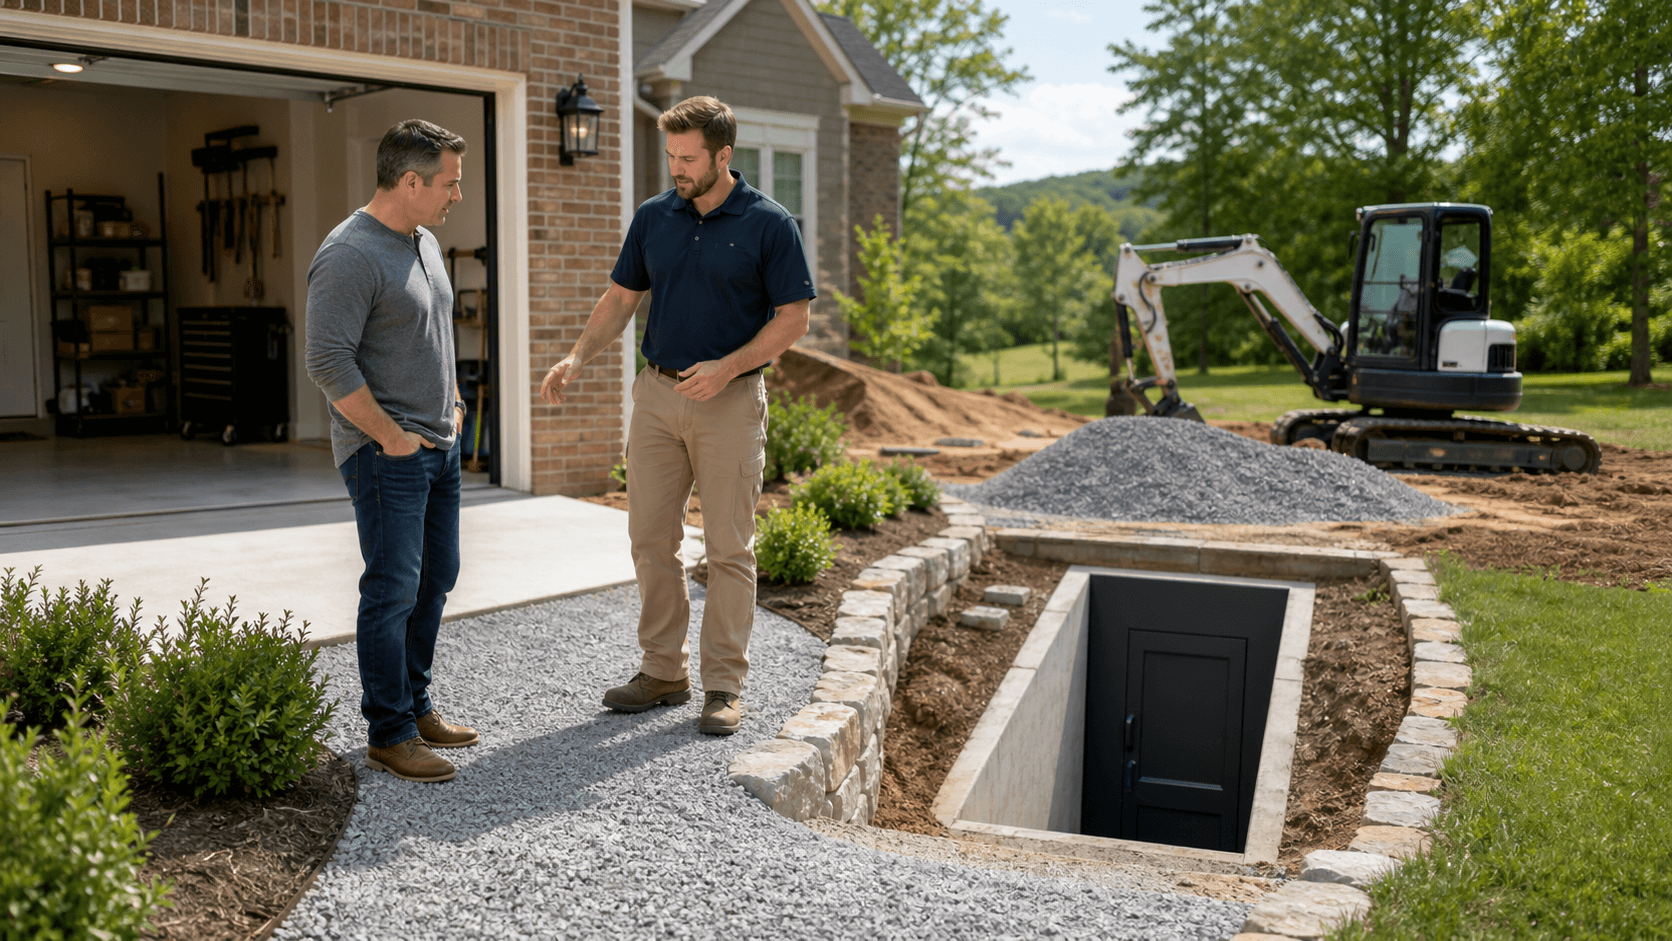
The right storm shelter installation depends on your property layout, household size, and ground conditions. A placement that works beside a new home may not fit an established farm, a mobile home site, or a property with limited open space.
Before work begins, we recommend thinking through how your household will actually use the shelter during bad weather. The most practical location is one you can reach quickly, including at night, during heavy rain, or when the power is out.
Important placement details include:
- Distance from the home and the normal path you will take to reach the shelter
- Drainage patterns, low spots, downspout discharge, and standing water
- Nearby trees, utility lines, septic systems, fences, and vehicle traffic
- Room for excavation equipment and a safe working area
- Access needs for children, older adults, pets, and other household members
In-ground and above-ground shelter options each have different site needs. We review the placement carefully so the shelter is close enough to be useful without putting it where water gathers or equipment cannot work safely.
Plan Precision Excavation and Site Access Early
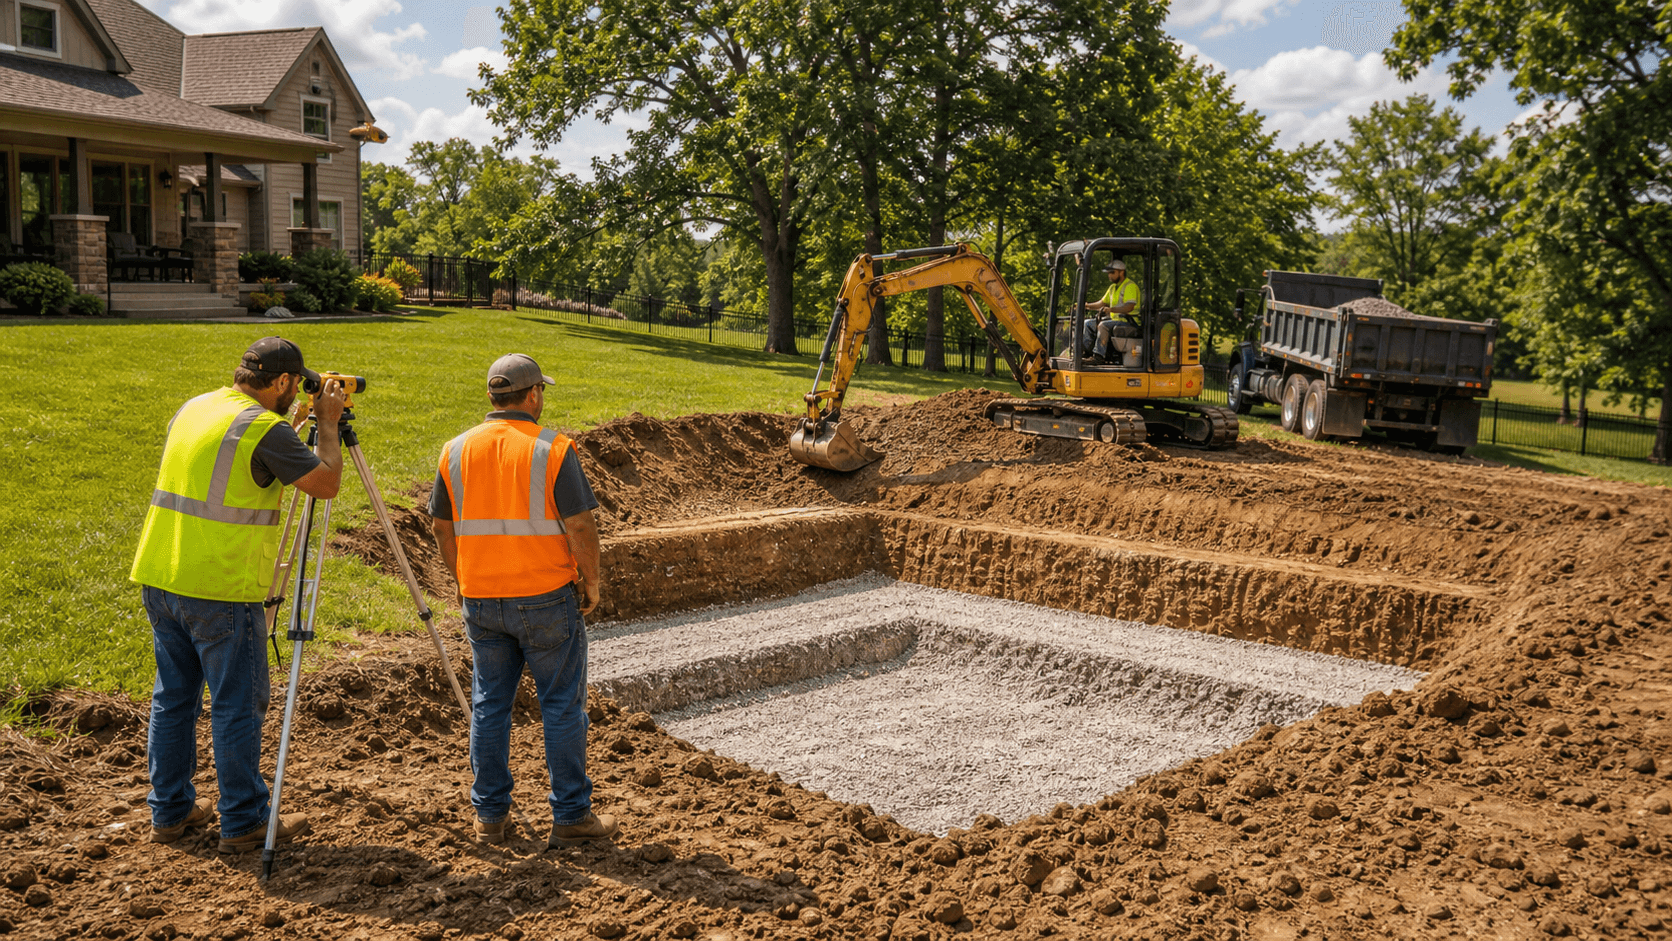
Ground work matters as much as the shelter itself. A proper installation may require precision excavation, stable soil, drainage planning, and enough room to safely move equipment into position.
Before we begin, we look at how excavation equipment can travel across your property. A gravel driveway may need protection or improvement before equipment comes through. Soft ground, slopes, tree lines, gates, and tight turns can all affect the job plan. Addressing those conditions early helps prevent surprises once installation is underway.
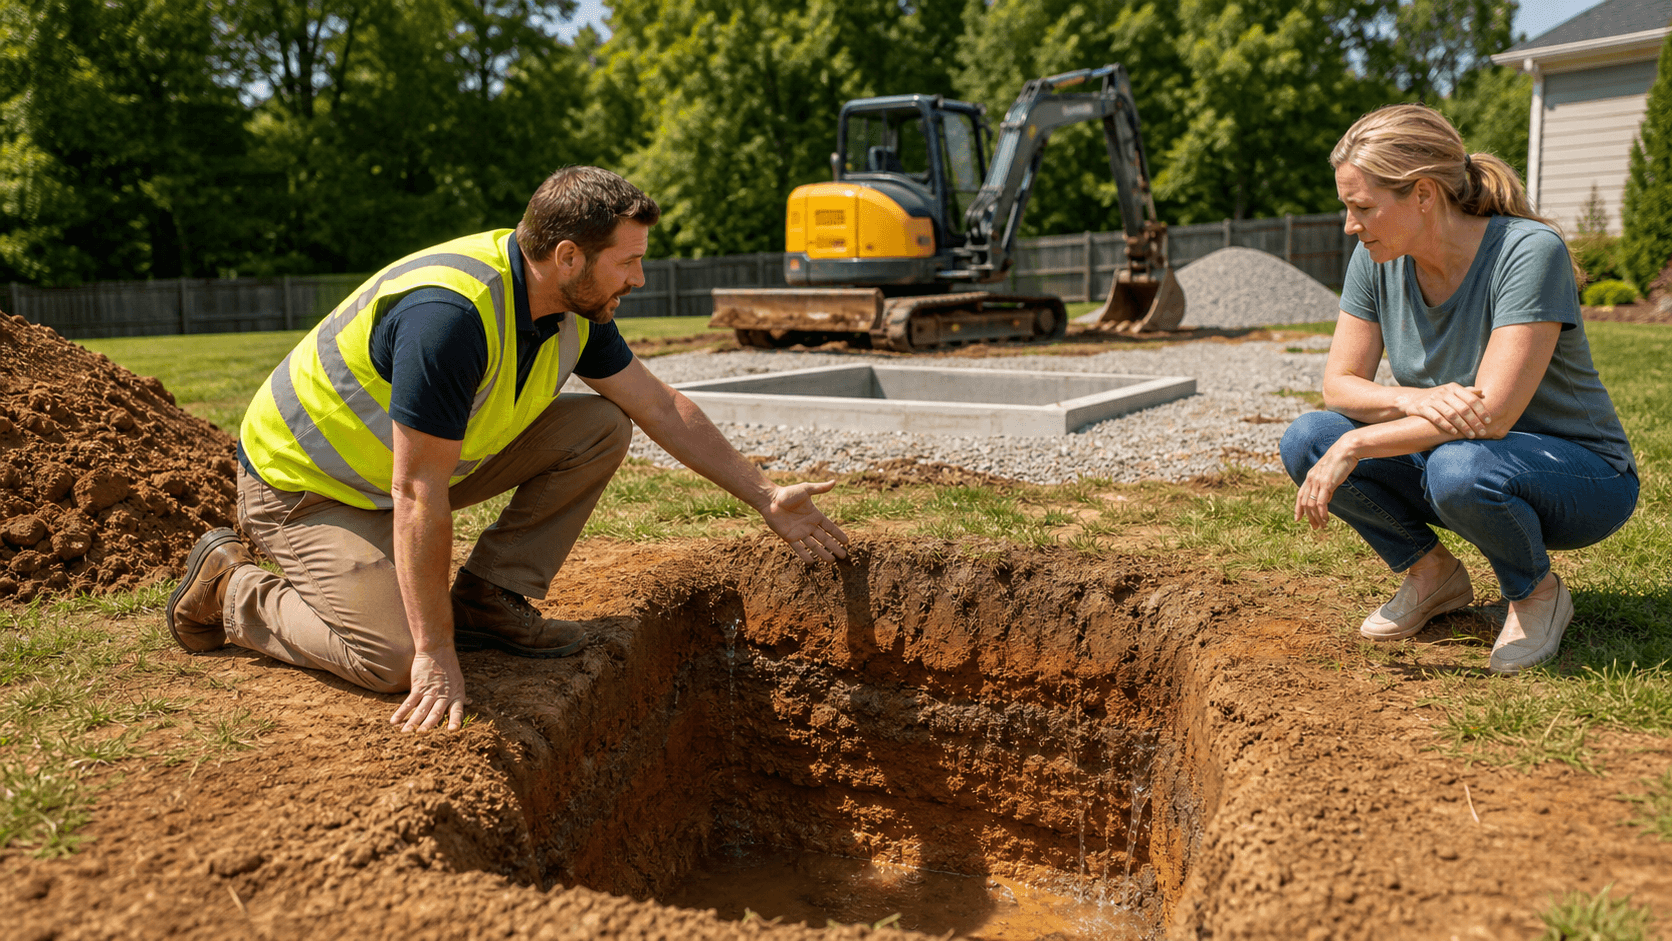
Drainage deserves close attention. Water should not collect around a shelter entrance or in the excavation area. Existing runoff, roof downspouts, slope changes, and low places should be reviewed before the shelter is set. If drainage work is needed, it is better to handle it as part of the project than to wait until a hard fall rain exposes the problem.
A well-planned site review can help identify:
- Whether the chosen area has stable, workable ground
- How equipment will enter, turn, and leave the property
- Whether driveway work is needed for safe access
- Where runoff travels during heavy rain
- What clearance is available around the shelter location
Know What a FEMA-Tested Installation Requires
Buying a shelter and having it installed correctly are not the same thing. We recommend asking clear questions about the shelter model, manufacturer documentation, installation requirements, and the conditions of your site.
FEMA guidance is widely used when planning residential safe rooms, but the selected shelter and installation method must follow the manufacturer's instructions. Placement, excavation depth, anchoring, backfill, entry access, and drainage all affect how the shelter performs over time.
Gravel Express provides FEMA-tested storm shelter installation with a practical approach to site preparation. As a Licensed and Insured contractor, we handle the excavation and ground-work side of the project with the same attention we bring to drainage, driveway, hauling, and land-clearing work. Clear planning helps you understand the job scope before equipment arrives.
Plan Before Weather Adds Pressure
The best time to think through storm shelter installation is before the next severe weather forecast creates urgency. A site review can identify the best location, access needs, drainage concerns, and excavation work that may be required.
When fall storms move in, you should not be left wondering whether your shelter location is accessible, dry, and ready to use. Planning ahead gives you time to choose a setup that fits your property and your household.
Get Clear Answers Before Excavation Starts
Gravel Express can assess access, placement, and excavation requirements for your property. Schedule storm shelter installation with our team to get a clear scope before work begins. For a free estimate, contact us or call 731-607-9558. We are Licensed & Insured and prepared to explain the work, timeline, and site requirements.
Call 731-607-9558 for a free estimate.